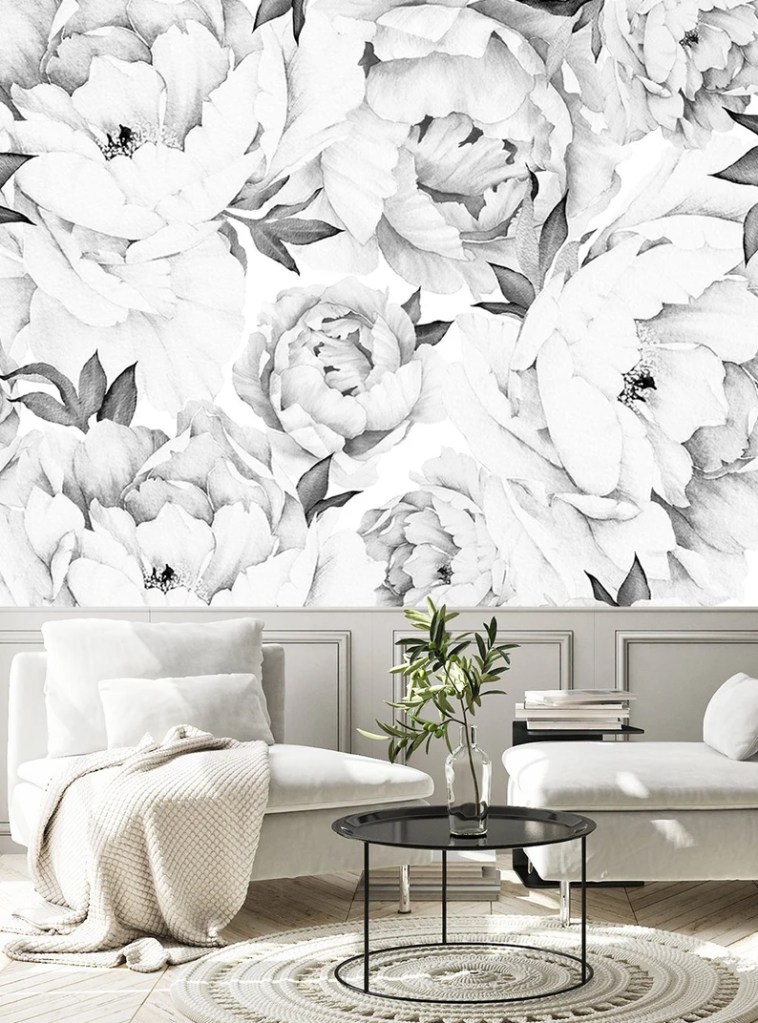
This blog is for installing removable Peel and Stick Wall Mural. I ordered this pattern on Etsy.
The paper arrived rolled with a squeegee and instructions. It is advisable to leave it for a few days in the room where it will be installed to get it used to the humidity.
My goal was to install this paper on the ceiling of a laundry room. I had never installed wallpaper in my life and even less on the ceiling of a small room! In addition, I have osteoarthritis problems in one knee, which makes my climbs and descents of the ladder somewhat hazardous.
Material
stool

rule

square

flexible metal meter

pen

scissors

cutter

Isopropyl alcohol + water

flat container

sponge

squeegee or ruler
1. Preparing the Surfaces
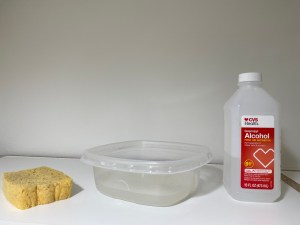
70% Isopropyl alcohol and 30% water.
My wallpaper came with the instruction to clean the surfaces 3 times with a 70/30 mixture of isopropyl alcohol and water. My plastic container, flat and long, made it easier for me to soak my sponge well and rinse it between each wipe. Allow surfaces to dry between each wiping.
Do not use fabric with fibers. The idea is to remove all dust and various residues in order to allow good and long adhesion of the wallpaper.
2. Lay the Paper Strips Side-by-Side
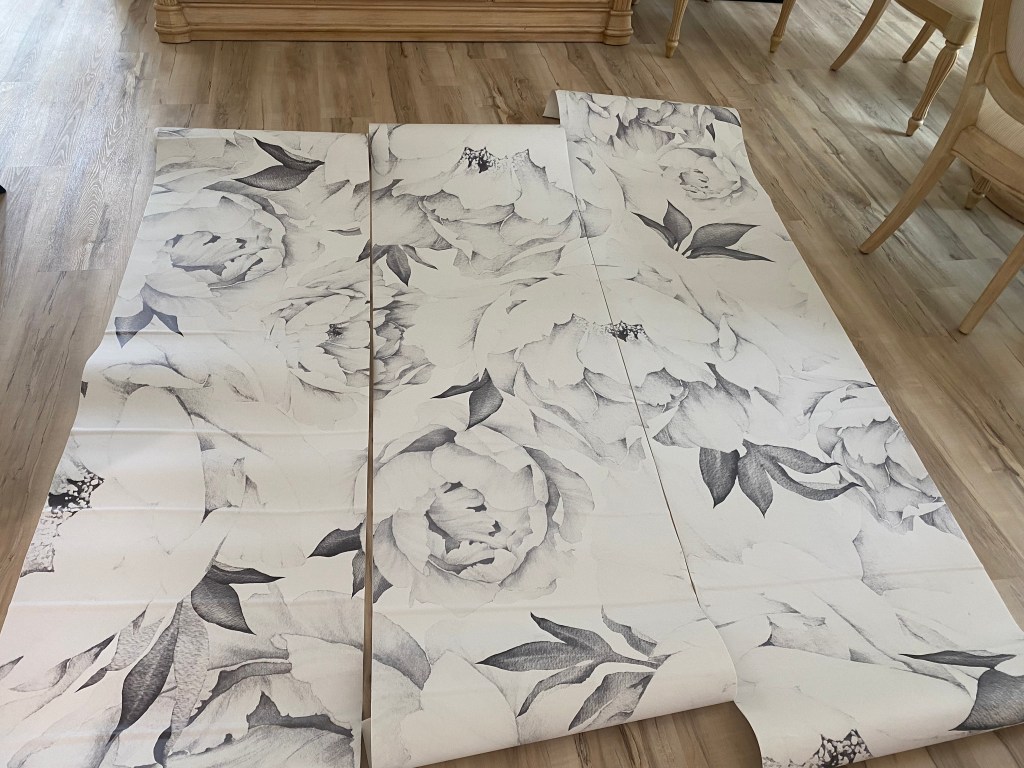
Lay the rolls of wallpaper side by side to fully understand the print and check the connections. A print with a slightly hazy design, without too many details or colors, simplifies the process. I was delighted with my choice of a black and white watercolour-like print whose fittings are a little fuzzy.
3. Measure and Cut Area by Area
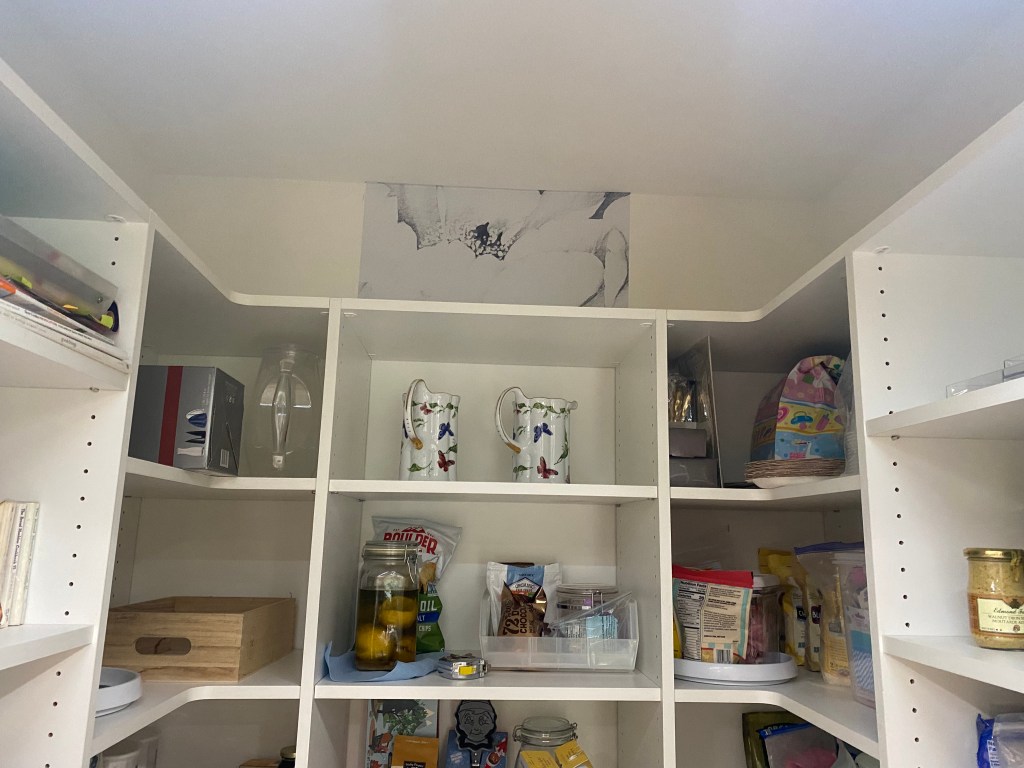
Measure the first area to be covered. My initial idea was to stick the strip on the vertical wall plane and then continue on the ceiling without cutting. The roll of paper is not flexible and I quickly abandoned this idea. I preferred to cut surface by surface. This requires more measurements but gluing is easier.
Cut the paper adding safety margins for paper-to-paper seams. On a white wall and with a white base on the paper, a fitting gap cannot be seen but is immediately noticeable if the wallpaper or the wall are of very different colors. The square allows you to cut at right angles.
Repeat for each area.
4. Peel off a Maximum of One foot at a Time
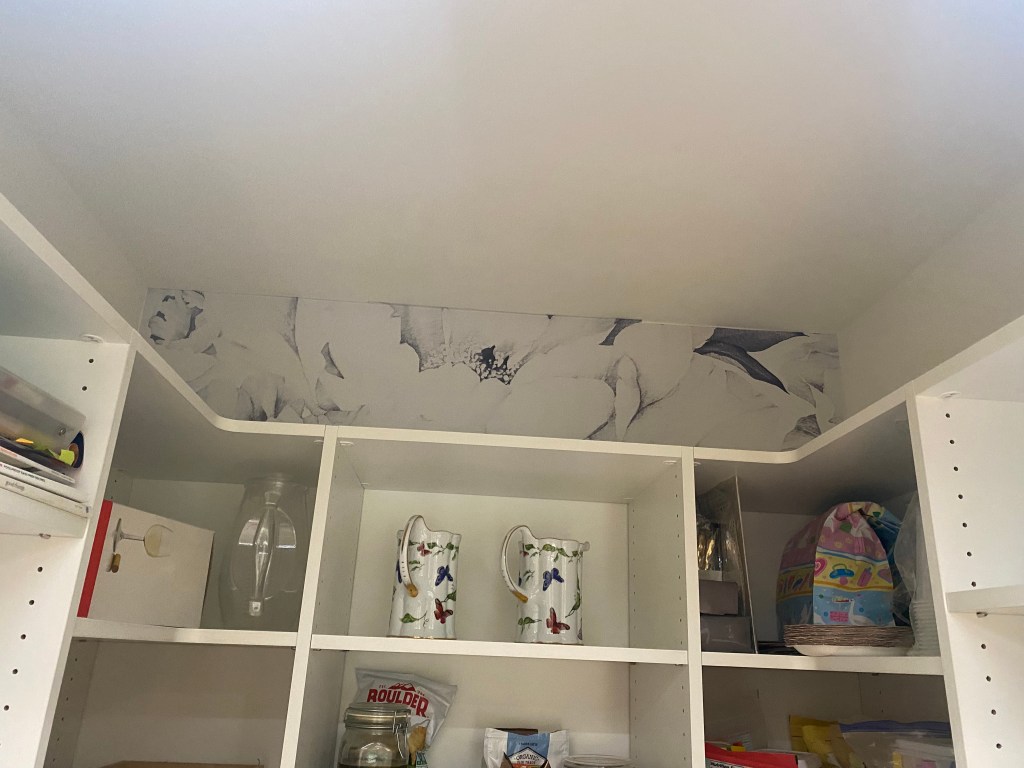
Peel off a maximum of 1 foot of wallpaper. Apply it to the wall and rub it methodically from the center outwards to remove any air bubbles, then peel off another foot, and keep going until the whole segment of wallpaper sticks firmly to the surface.
5. Remove any Air Bubbles
The squeegee should glide smoothly. If an air bubble persists, it is better to take off the paper, tighten it and restick it. A persistent air bubble can also be pierced with a fine needle.
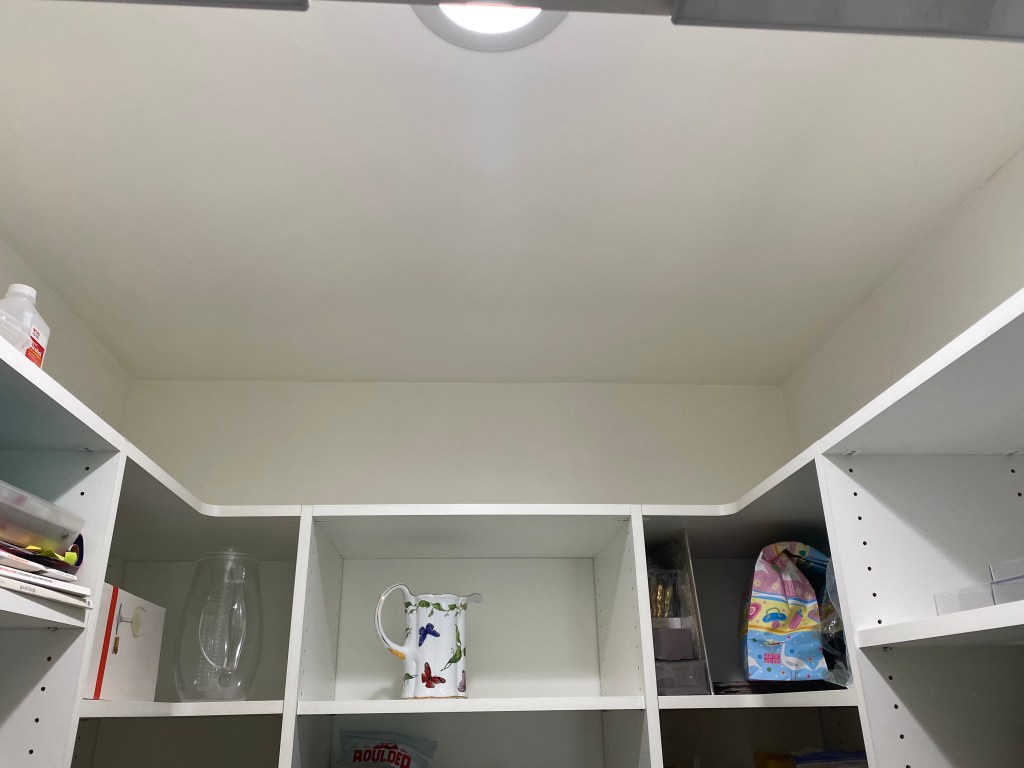
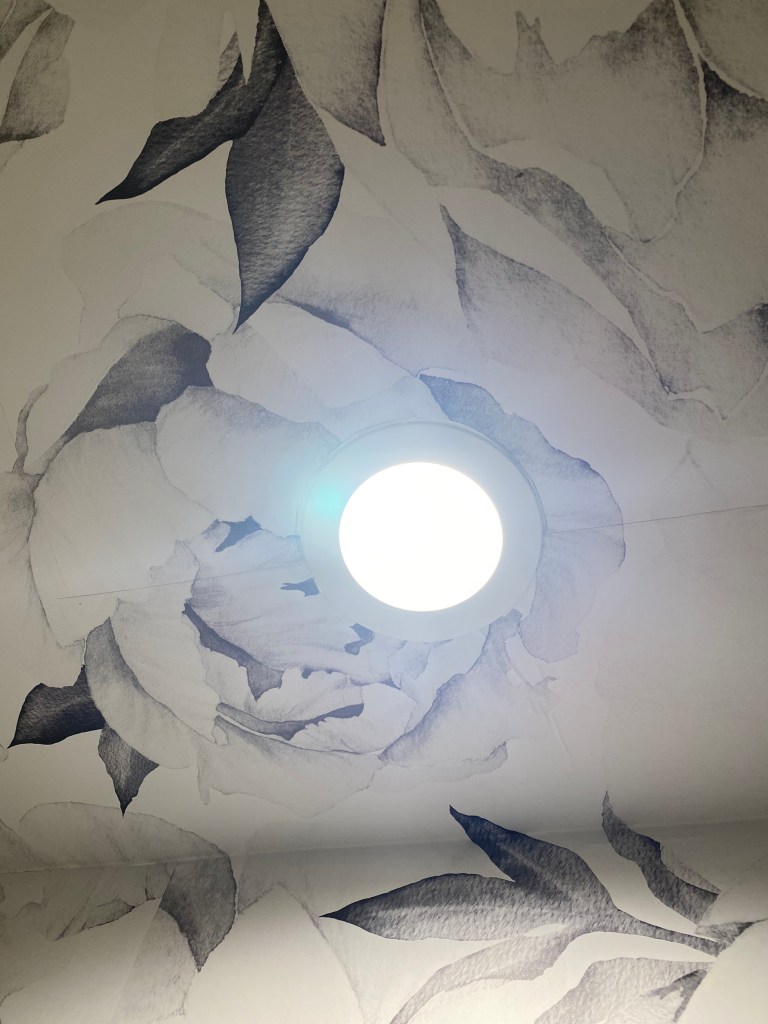
Recessed lights
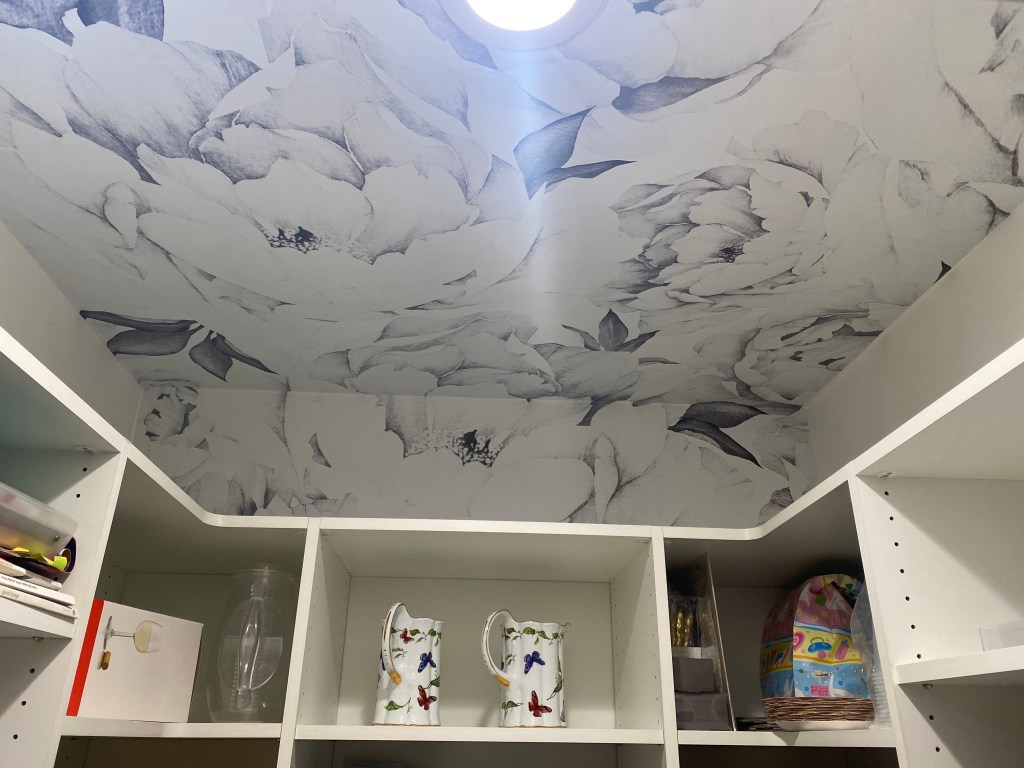
My cupboard has a recessed light, so I glued a piece of paper to half the diameter of the light and I cut with a cutter around the recessed light, then I glued another piece of paper on the remaining half-diameter to the next wall, and I cut again with a cutter. The right method would have been to measure the diameter of the applique and cut it out directly on the wallpaper before installing it, but that involved precise measuring. My method gave a suitable if not perfect result (see photo).
Once again the patterns on my wallpaper allowed me to hide some mistakes.
DONE
I added some scraps of paper on the back of some shelves for visual continuity.
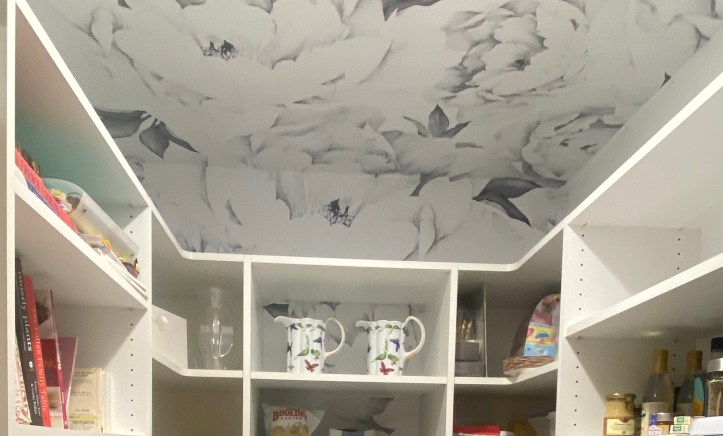
The installation took about 2 hours for a ceiling of 60 inch x 60 inch.
I had ordered 3 sheets 24in x 96in. At $80 each roll, it costs me with some reduction over $220. I used all 3 rolls.

It is nice surprise when you open the pantry and it gives it a cocooning finish. I am happy with the result and if I was not, well, I could just easily remove it.

There are many, many patterns to choose from on many sites. Here are a few. Have fun!

Home depot huge selection of patterns, prices and materials

New York Times recommendations

Wayfair

Etsy
